
|
For years I have approached learning targets with my students in the same way. We look at the target and the attached Marzano scale and I help them decide where their starting point is, then we start learning. It works fine, but I thought I could do a bit more with it. Then I tried adding a touch of inquiry...  SET UP The set up is very simple. All you need to do is project your learning target (or have it written on the board). STEPS
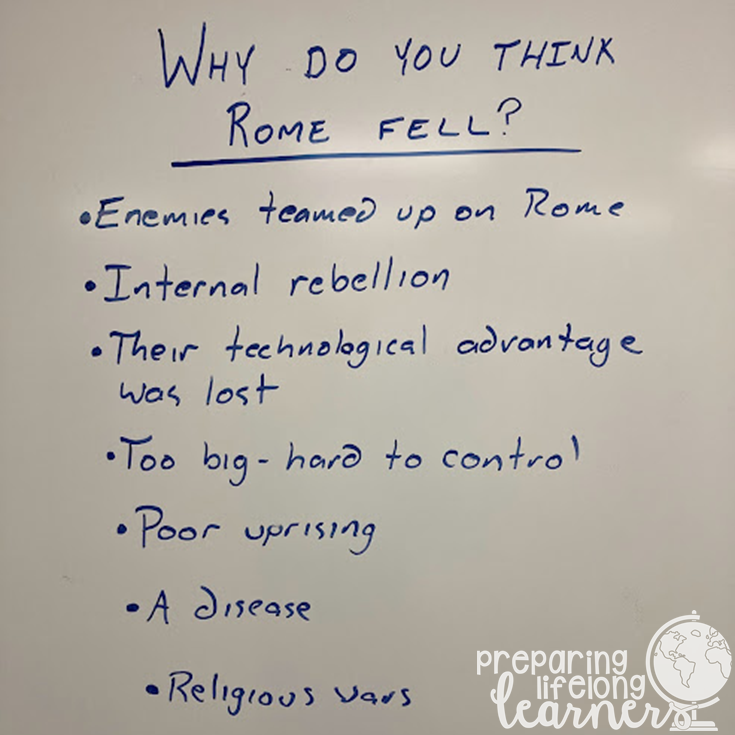 This is an example of what my students came up with the other day when we were discussing the Fall of Rome. They did a great job! TAKE AWAYS I've been doing this for about a week now, and I love it. I think my students do too - they like seeing when their hypotheses wind up being correct and do a little, "Yes!" and point it out to their neighbors, and I think that's really the point - students getting interested and invested in their learning.
So, if you try this in your classroom (or do something similar), please let me know about it in the comments. And if you are looking for lessons with pre-made learning targets and Marzano aligned scales, check out my Interactive Notetaking or Complete Unit resources in my TpT store - each of them comes with several Marzano aligned scales along with the actual resources.
0 Comments
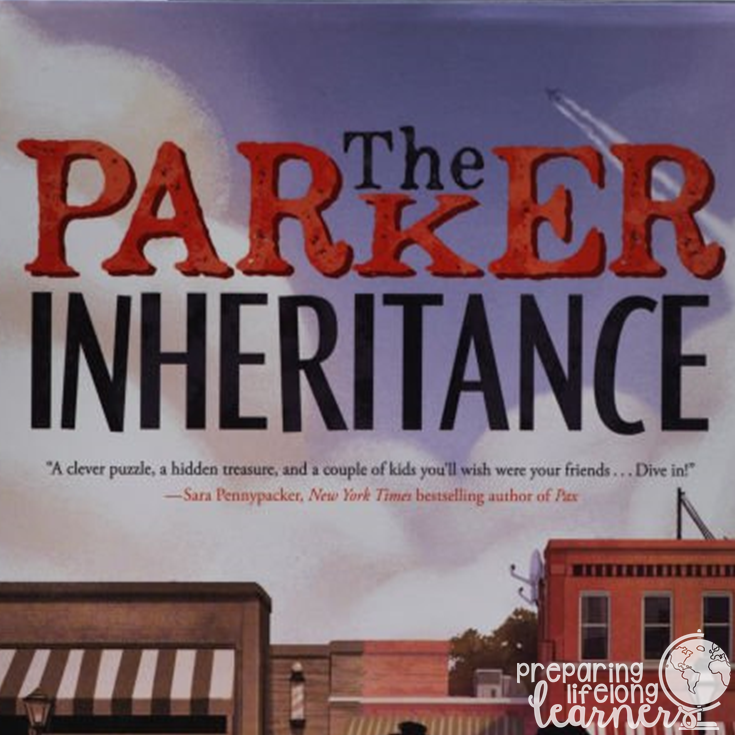
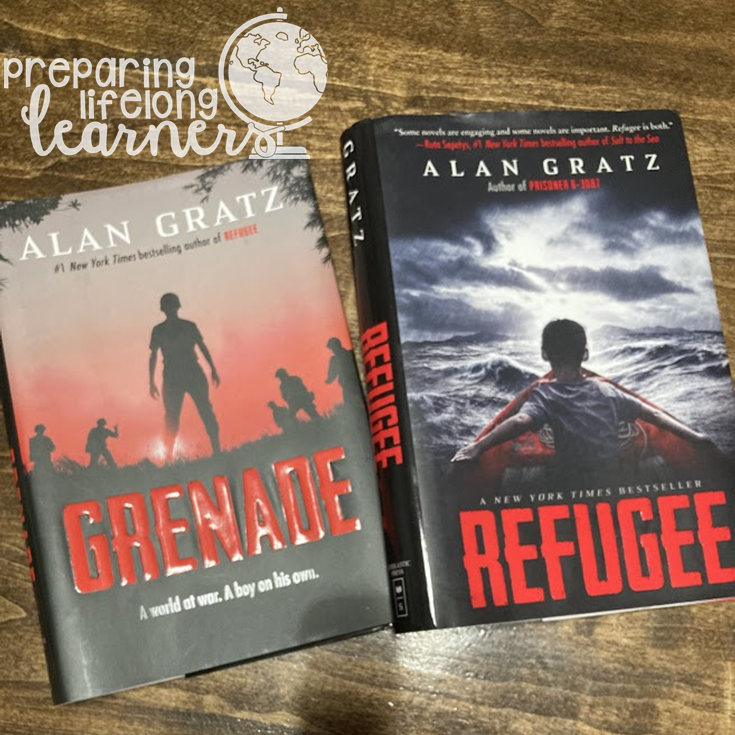
I have a passion for books, especially books for kids. It's probably because I harbor a lifelong dream of writing them, or maybe because my wife Jen (follow her on the other half of this blog btw...) is an elementary reading interventionist. Either way, for this post I'd like to share four book recommendations for middle schoolers who are constantly saying, "I don't like to read" that I've read recently. 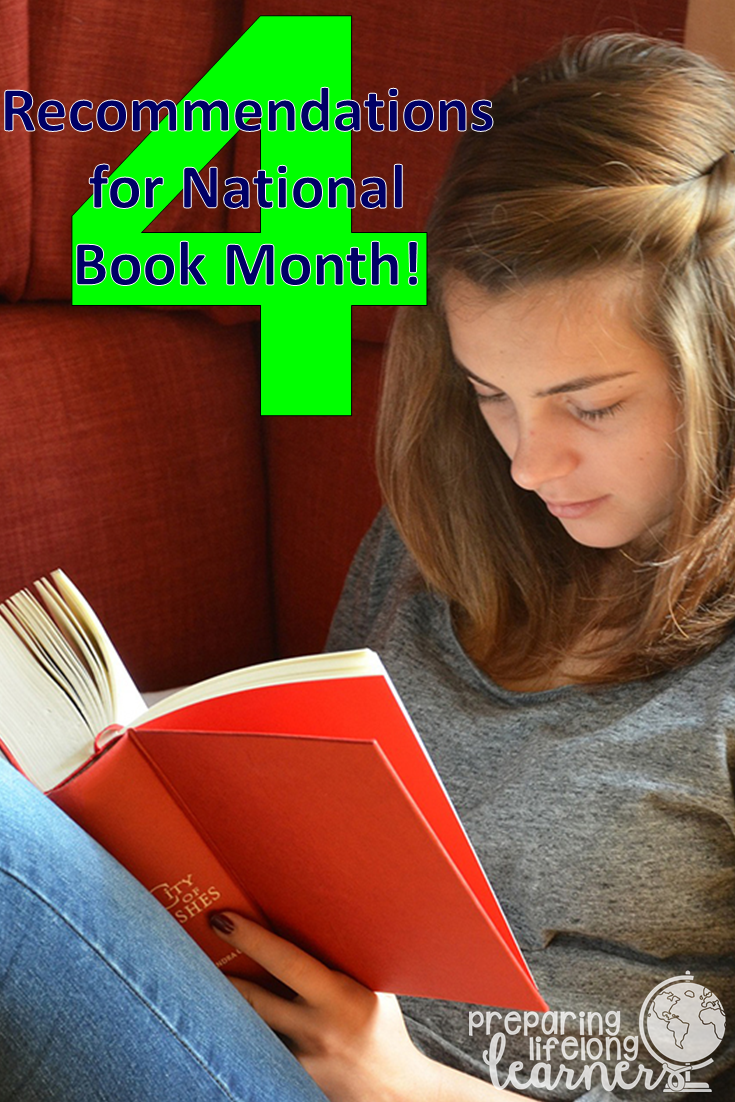
So, I wish you and your students a very Happy Reading Month (why aren't there Happy Reading Month cards btw...), and hope you check out or pass on some of these recommendations to your students or teacher friends. Also, make sure to checkout my TpT store for great Social Studies resources, and follow this blog for great teaching tips, tricks and ideas. My school's second conferences were last week, and were primarily done virtually. The first time we did virtual conferences, it became a little chaotic for me - lots of tabs open, clicking back and forth between different Google Hangouts, etc. This time, I found a really easy, efficient wat to stay organized and efficient and it didn't even take that much time to set up! 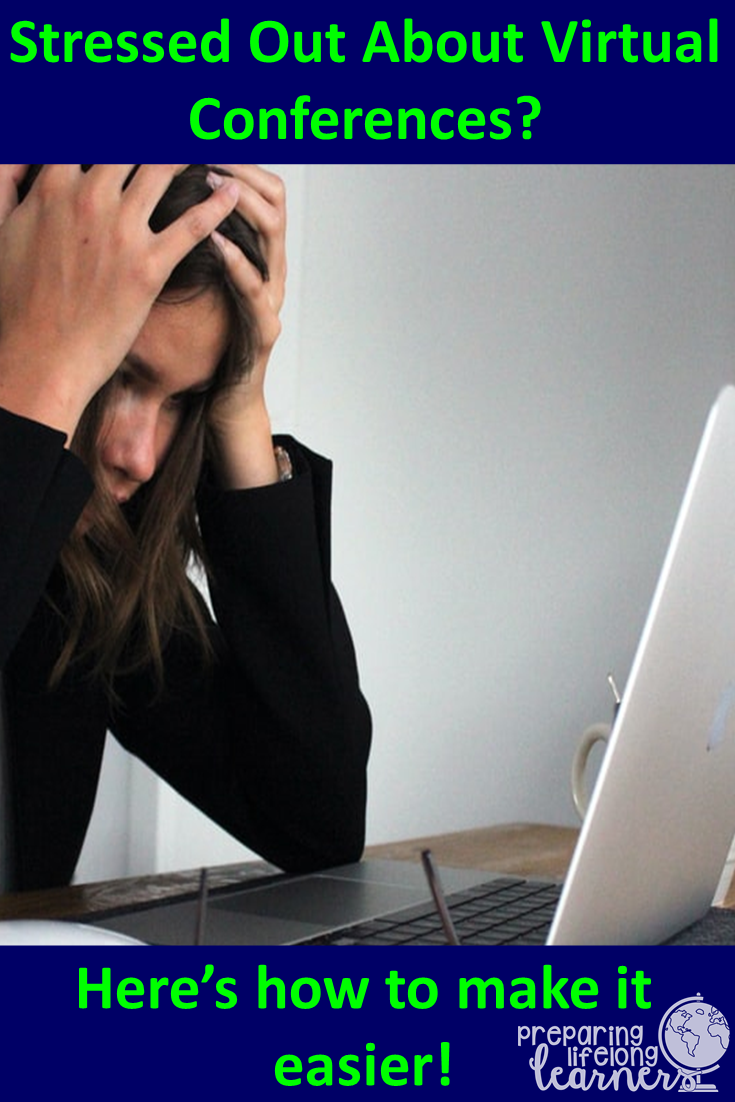 SET UP For a couple of weeks before conferences, parents were encouraged to sign up for a 10 minute timeslot to talk with all four of their student's core teachers. Once our team had the time slots scheduled, we created a Google Sheet with the time, child and one of the child's Google Hangout links. We sent e-mails to the parents telling them which Google Hangout to use for the conference. Our list of hangouts alternated between between two teachers on our team so that early parents wouldn't "crash" the wrong conference (something we learned from last year...), and it also allowed one of us to jump over to the next conference to get it going if things went a little long. It took a little practice, but got smoother and smoother as we went. HOW I KEPT WHAT I WANTED TO SAY SHORT AND TO THE POINT This is where the efficiency part comes in. Our conference slots were only 10 minutes per parent, so being quick and to the point was vital. My solution was to copy and paste our conference schedule into a new Google Sheet and add columns for "Positives to be Sure to Mention", and "Concerns to be Sure to Share". Then I went through each student on the list and made a quick note of the most important things I wanted to share. I also added a column for things to remember from the conference and one to record whether or not the parent showed up. This sheet wound up being great documentation of who we talked with and what we talked about as well as a record of who attended for our administration! Below is a picture of the Google Sheet (with student names blocked out). 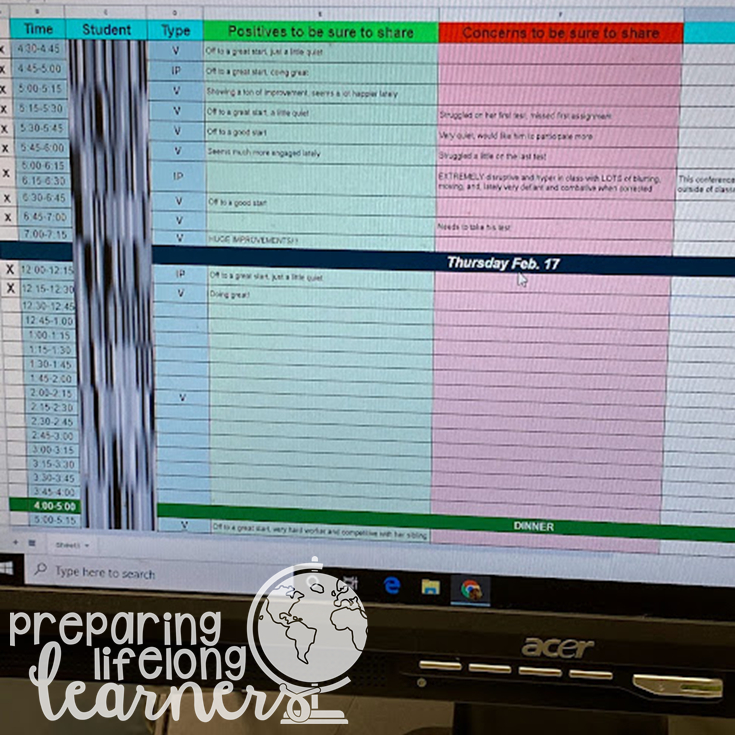 So, if you have conferences - especially virtual conferences - coming up, or if you're looking for a way to get organized for next year, I highly recommend this method. And, if you are interested in other great teaching tips and tricks, please follow this blog and share it with anyone else who might be interested. Finally, if you have any conference (virtual or otherwise) tips or tricks you think might be helpful, please feel free to put them in the comments.
One of the basic geography skills my seventh grade students really struggle with is using latitude and longitude to find absolute location. I had been looking for a quick and easy, low prep way that didn't involve making a bunch of copies to practice latitude and longitude when I came up with this idea while driving to work! 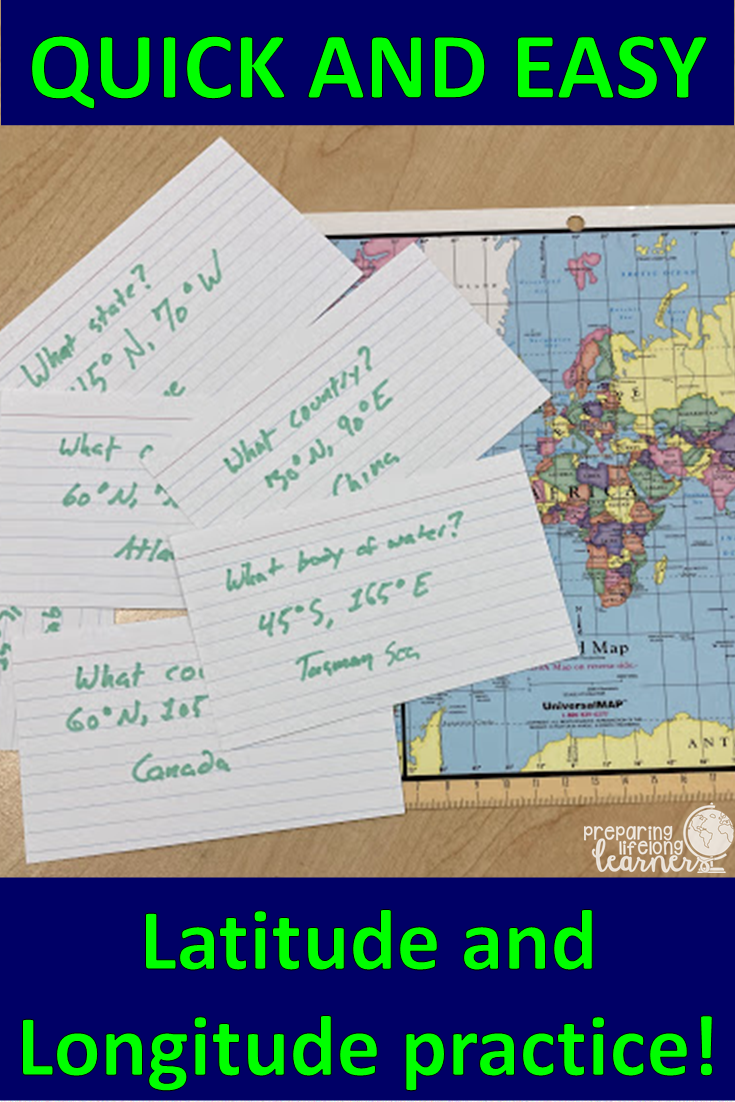 PREP I recently inherited a class set of the maps shown in the picture above from an older teacher, so I use them, but any map with latitude and longitude would work just as well - your students could even work in groups with larger maps. Besides having maps, the only other preparation is using whichever map your students are going to use to find and write the latitude and longitude coordinates of various places or physical features - states, countries, oceans, bays, anything they can find - on notecards (also shown in the picture above). STEPS
As a competition, I have been recording the percentage of each class that gets at least 80% correct (mastery). The classes like to compete against each other, and I am left with data showing this skill is increasing across all my classes - I have gone from the 40's% proficient to above 70% in all my classes! So, I hope you like this activity, and if you use it, please let me know how it went in the comments. If you are looking for more basic geography building activities, please check out the resources I have to offer in my TpT store, and if you like what you see, please be sure to follow this blog and my TpT store for more great ideas! I love teaching vocabulary, and utilize at least some of Marzano's 6 Steps for Vocabulary Instruction everyday. One of my favorite games (which is Marzano's sixth step) is vocabulary bingo. Here's how it works:  I post word wall tiles (click here to see a the ones I use for ancient Greece) on my wall throughout the school year. The result is that by the end of the year, students constantly see and remember all of our content vocabulary for the whole year. I also have written each of the vocabulary words on an index card. I carry the stack of cards around with me all the time to use a filler questions while slower workers are catching up or to quiz students in the hallway. I use both for these activity.
STEPS
HINT - If you want to do this at a point in the year where you don't have 25 or more words yet, you can do it with a 3x3 grid too, it just goes faster. If you don't have content area word wall tiles, and would like some, or would like to see what mine are like click the link below. Or, if you're looking for other great social studies resources, be sure to visit and follow my TpT store! |

MEET TIMI'm an 18 year veteran teacher that loves teaching, coaching, writing, and my family.
Archives
May 2022
|
Proudly powered by Weebly