
|
A few weeks ago, I gave an overview of how to create a Marzano scale from a standard. I received a comment from a follower whose district is just "starting to dabble in Marzano" who wondered if I could provide a step-by-step example with an actual state standard. So, acting on the age old teaching principle of "if one person asks a question, lots of others are probably wondering the same thing", this week I'll show you how I break an actual state standard into Marzano aligned scales that can be used to guide daily instruction. 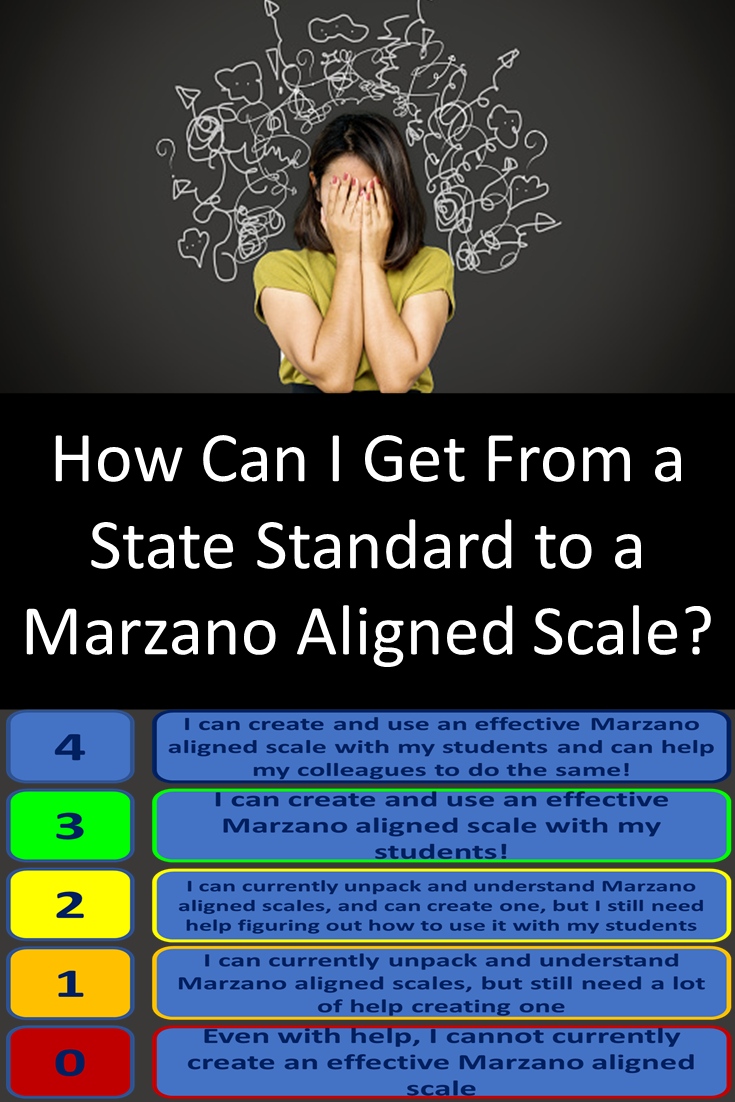 First, we need a sample standard. I'm from Michigan, so I'll use on of ours:
Quick side note: Michigan's social studies standards are notoriously packed with a TON of information and are usually unwieldly. I believe more work should have been done at the state level to break them down into more teacher and student-friendly chunks, but I digress. Actually, the more content in a particular standard, the easier it is to break down. If there are bullet points (like the one above has), the first step for me is to turn the main part of the standard (F1.1...) into a student-friendly "I can" statement. This will become my level three or "mastery" level. This standard turns into, "I can describe why the colonists chose to declare their independence from Britain." 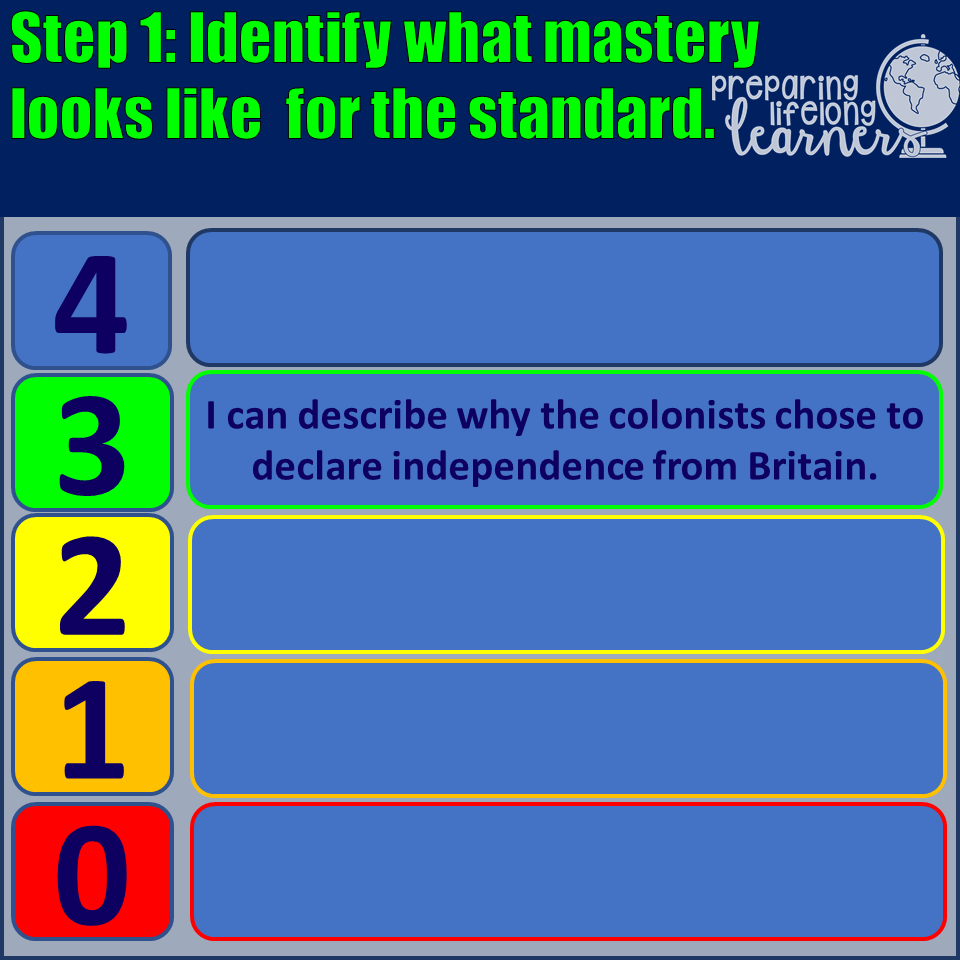 Next, I turn my attention to the bullet points themselves; these are the things students will need to be able to do to master the standard. In this standard, I would sequence the bullet points into a logical path that would lead to the colonists declaring independence. This will help with both creating the standard, and in using the standard to create your lesson plans later. It makes sense to me to sequence them like this:
Once these building blocks have been identified, I apply them to my "mastery statement" and wind up with this:
Now, to fill in the lower levels (1 &2) of the scales, you add the building blocks. I would do it like this: 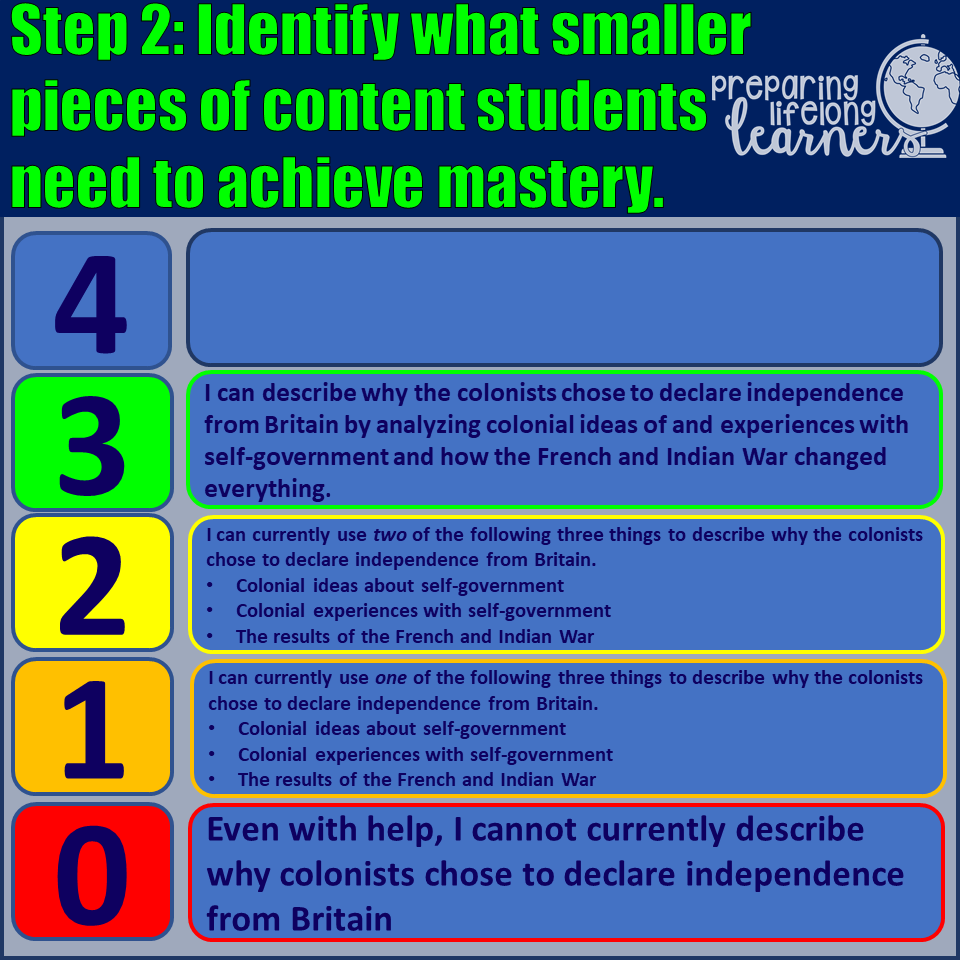 The last step is to identify something that goes beyond mastery to fill out the "Beyond Mastery" level of the scale (level four). In this case, I would provide my students with an opportunity to evaluate the things that led the colonists to declare their independence. My level four would be, "I can select the one thing that I think most led the colonists to declare their independence and explain my reasoning." 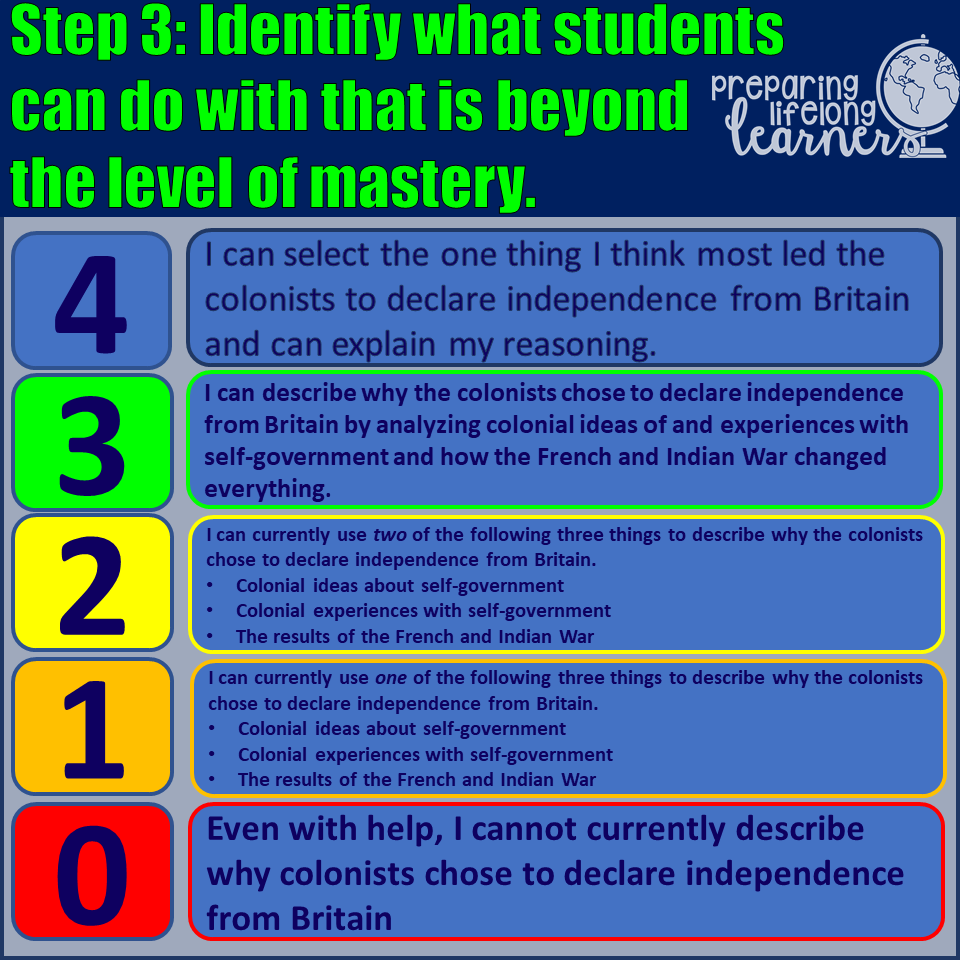 This particular scale is far too big, and too full of information to be a single lesson, so to make it more usable, I would treat the things in level two as separate standards and create scales and lessons around them. When these lessons are put together, I am left with a lesson plan for about a week of instruction. These scales are as follow: I know this all seems like a lot, but you will find that as you begin to create scales, it gets easier and easier resulting in faster and faster work. It will become second-nature to you, and you will begin to think of all of your content in terms of levels of mastery and how your students can demonstrate it. This mindset shift will lead to lessons more closely tailored to standards, better student performance on assessments and great evaluations for you!  Before I close, I want to thank the follower who submitted the request for this topic. If you have any questions about this post, or anything relating to Marzano, scales or socials studies, please leave them in the comments below. Your comments really help me find topics to blog about, and for great social studies resources, don't forget to visit and follow my TpT store.
0 Comments
One of the things I have come to love about Marzano aligned teaching and planning is that as I have gotten more and more comfortable with it, my students have gotten better and better at assessments and I have gotten better and better evaluations. This blog post will give you some tips and tricks to get a good evaluation using Marzano!  To get a great evaluation, it's a really good idea to begin by understanding the tool your evaluator will be rating you with (see, that's Marzano right there - identify your learning targets and rate your progress toward them!). It's like knowing the strike zone in baseball. If your school is a "Marzano school" it is probably using the teacher evaluation tool created by Marzano. If not, effectively using Marzano strategies will still help you get better evaluations because you will be using best practices and creating great lesson plans when you go through the steps I laid out in a previous post called Lesson Planning With Marzano.  If you are a "Marzano school" that uses the Marzano evaluation tool, this is where things start to get really easy!
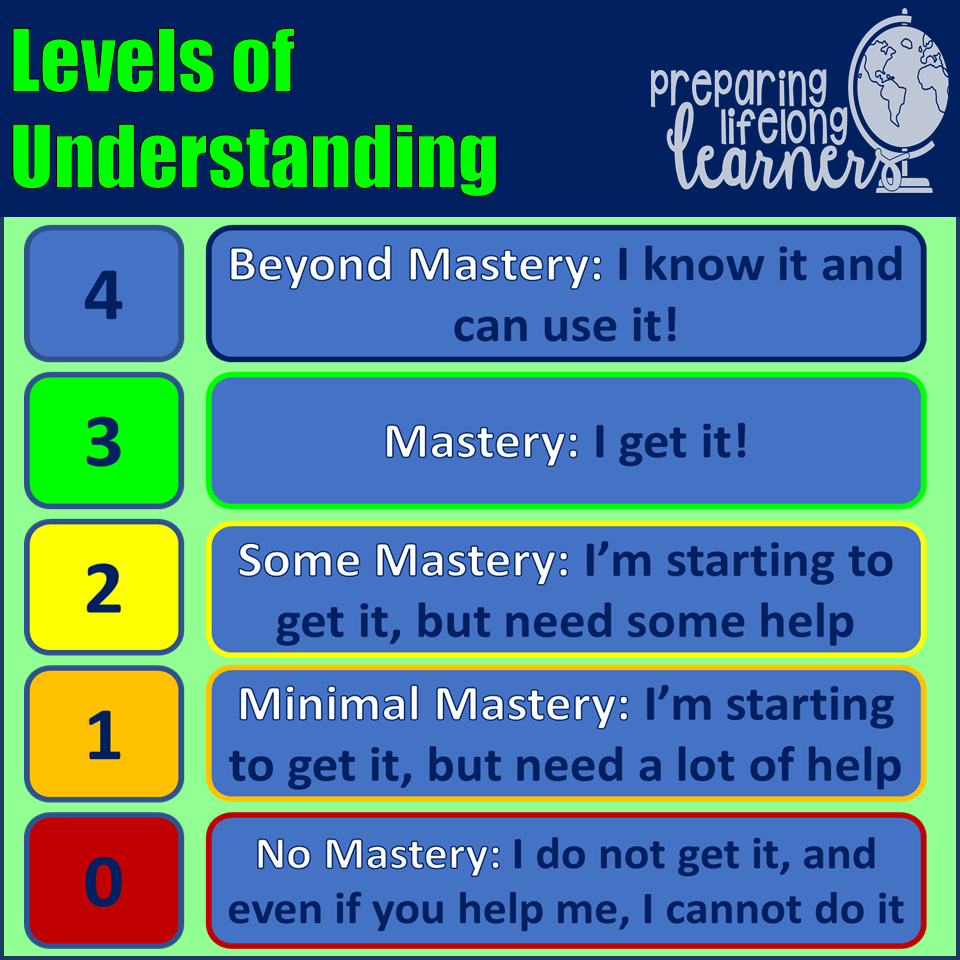
The thing an evaluator wants to see more than anything is that you know what you are doing, why you are doing it and that your students are learning and engaged. Using the strategies on the Marzano placemat ensure that you are using best practices and highlighting those practices should ensure a very positive evaluation! As I mentioned in my last post about lesson planning with Marzano, the first step in effective instruction is providing clear goals and to monitor student progress toward those goals. But how?  With scales! Marzano scales are based on the concept of "Mastery". According to Marzano, mastery is being able to answer at least 80% of questions about a topic correctly. A Marzano scale goes from 0-4 with each level as follows:
 You might be thinking, "Great, but how can I make the scale they rate themselves on?" You begin with the standard. Most standards (at least in Social Studies) are large and complicated things that seem cobbled together like Frankenstein's monster. The first step is to break the monster standard into smaller chunks. These chunks become your daily lessons. Next, take a chunk and ask yourself, "What would a student need to be able to do to demonstrate mastery of this chunk?" Once you have your answer, that is both your daily learning target and the level 3 on your scale! Level 4 is something beyond that, so ask yourself, "How could my students apply this knowledge another way?" Level 0 is always the same - "Even with help, I still don't get it." This leaves level 1 and 2 to worry about. The easiest way to fill these is to go back to what you came up with for level 3 and try to think of three or four things students would need to be able to do to call themselves a 3. Once you have these, put the simpler one(s) in level 1 and the simpler and more difficult ones in level 2. Once you've done that, you have a Marzano aligned scale for your lesson! 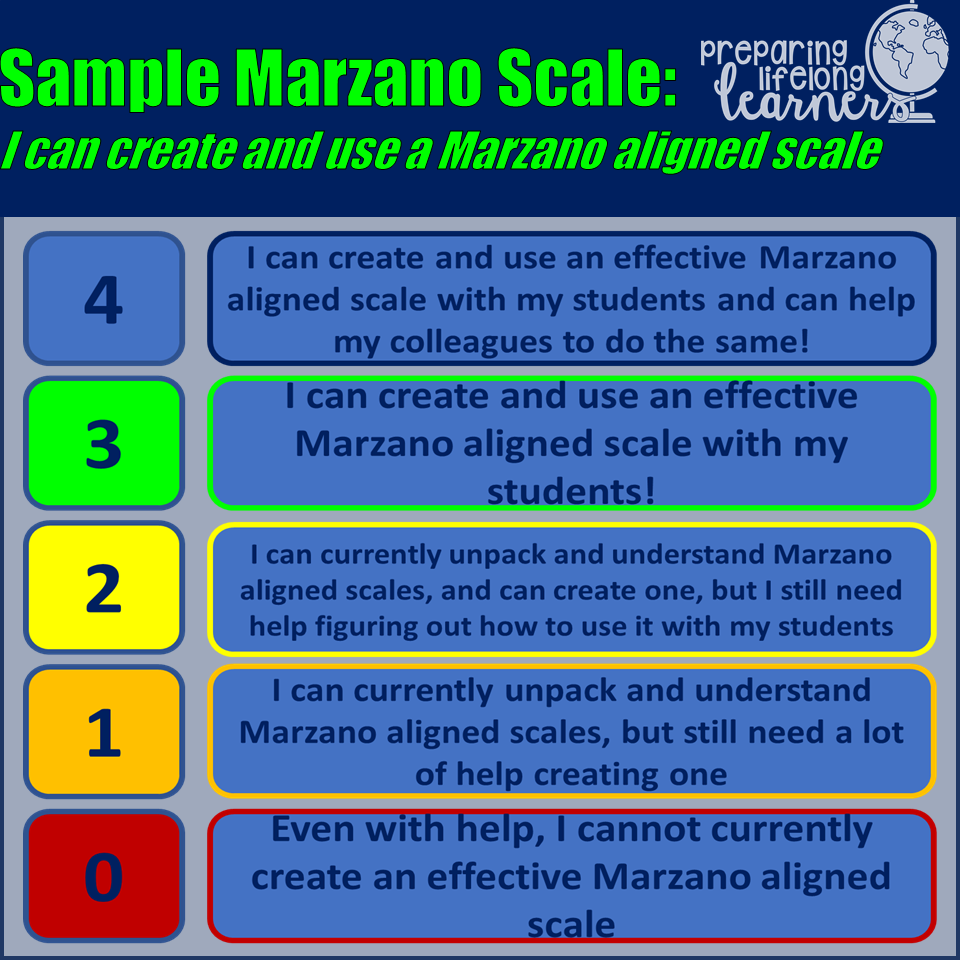 A few final thoughts.
|

MEET TIMI'm an 18 year veteran teacher that loves teaching, coaching, writing, and my family.
Archives
May 2022
|
Proudly powered by Weebly